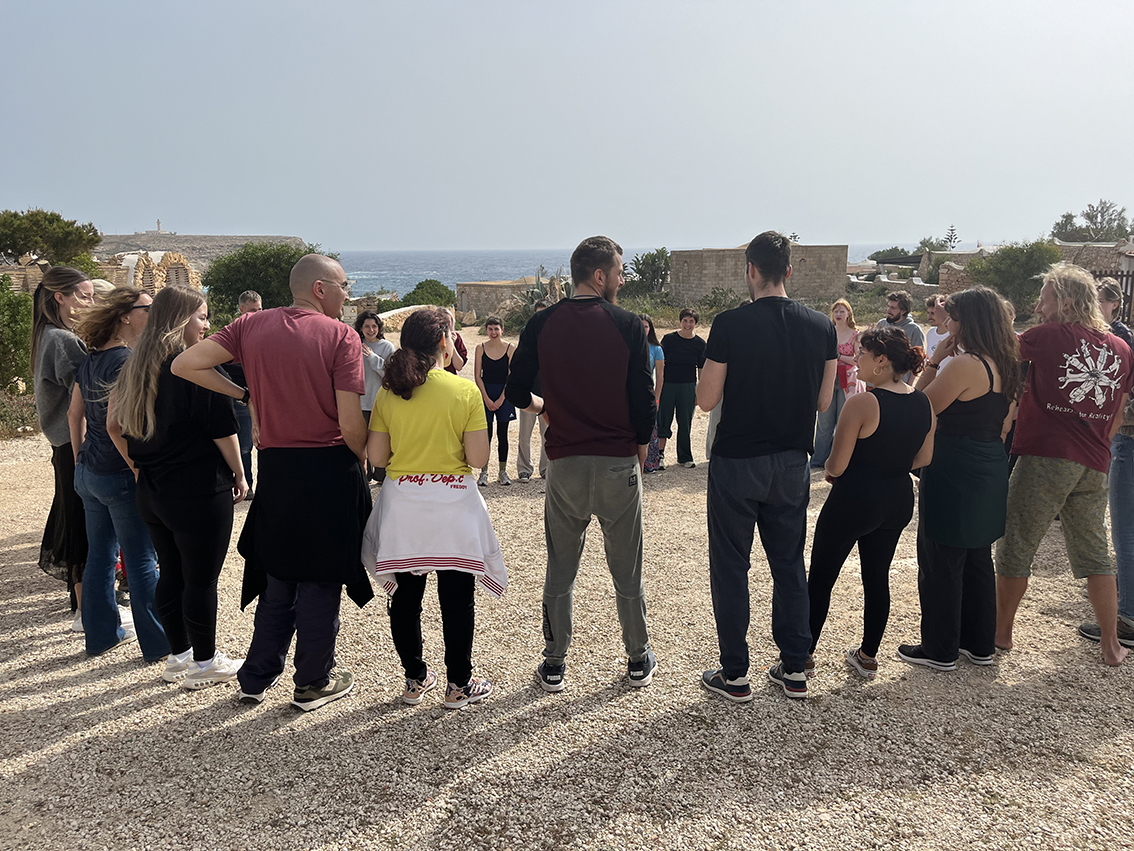
Group Agreement
Download the methods
To download the methods, click here
Target group
No. of pax
Environment
Time needed
Materials
• Post-its in various colours
• Pens or markers
• Large flipchart paper or wall space for group agreement
• Tape
Objective/aim
To create a safer, brave and participatory space by forming a shared agreement on how the group wants to work and live together, including expectations, needs and responsibilities.
Step by step instructions
Step 1
Briefly introduce the concept
5 minutes
“This activity helps us define how we want to work together this week. It’s about building a safer space—not perfect, but intentional.
Everyone is part of this: participants, coordinators, creative facilitators.” Lay out post-its and pens in the room.
Step 2
Ask participants 1-3 questions, such as:
• What is important for you in working together?
• What helps you feel safe, included and able to participate fully?
• What can you do to make this a safer, brave and participatory space for all?
Provide paper for participants to take notes. Initially you could also ask participants to tune in with closed eyes in a comfortable position.
Step 3
Individual reflection
5 minutes
Each person writes notes for themselves regarding the questions.
Step 4
Small group work
15 minutes
Participants form groups of four, share their ideas and write shared key points on post-its.
Step 5
Plenary presentation
20-30 minutes but depending on group size
Each group presents their ideas but only new contributions (3 minutes per group).
If something has already been said, they add their post-its to the similar topic but don’t repeat it verbally.
After each group presentation, ask:
• “Is everyone okay with what has been added?”
• “Anything you would like to clarify or build on?”
This ensures collective affirmation and adjustment before moving on.
Step 6
Final confirmation and summary
10 minutes
Display the agreement visibly. Stick the post-its on a poster or wall after all groups have presented, let participants know:
“This is how we have decided to work together this week. These agreements reflect what we need to feel safe, included, and strong as a group. This is our common ground.”
Ask for a volunteer (or assign someone in advance) to read out and briefly summarise the key points of the agreement, using the collected post-its.
Then ask:
• “Is everyone okay with this agreement as it stands now?”
• “Is there anything you feel is missing or unclear?”
Give space for final additions or comments before closing the session.
Step 7
Thank everyone for their contributions and say as a final remark:
• The agreement is not fixed – we can change things and add to it.
• If something feels missing or violated, you can raise it at a group check-in or with facilitators.
• We will return to this regularly to remind ourselves of what we agreed on.
• Let participants know where the agreement will be put up and have it at a place that is visible during the whole group process for everyone to read.
Tips for the trainer
• Emphasise that “safe” spaces are never guaranteed, but we can all work together toward safer and braver ones.
• Encourage participants to revisit the agreement if issues arise or parts of the agreement need to change.
• If time is tight, you can cluster similar ideas and summarise with the group’s consent.
Alternative
For smaller groups, facilitate one joint discussion instead of breakout groups. For online or hybrid formats, use digital whiteboards like Jamboard, Miro or Padlet.
Comment
Source
Co-developed within the My Elections – My EU! project based on participatory group facilitation and safer space practices by Maria Hammer and Maruša Vertacnik.


