Horizontal decision making: Introduction and consensus
Download the methods
To download the methods, click here
Target group
No. of pax
Environment
Time needed
Materials
• Projector or flipchart for presentation
• Flipchart papers
• Flipchart markers
• Tape (or other materials to hang flipcharts on the wall)
Objective/aim
• Develop competencies for group decision-making.
• Learn about horizontal decision-making tools and try them out.
• Empower effective collaboration without establishing or reinforcing a hierarchy in the group.
Step by step instructions
First part: Introduction and theory
Step 1
30 min
Explain the most common decision-making processes (e.g. autocratic, representative and voting) that are used in our society and gather them on a flipchart. Ask participants about the downsides of those processes:
Ask questions, such as:
• “How do people feel when their opinions and needs are not taken into account in decision-making?”
• “What happens to the minority that has been outvoted? How do they feel? How engaged will they be in further group processes?”
• “What can be the outcome when the decision-making process is not preceded by a quality discussion?”
Say: “What if there is another way of making decisions without hierarchy? Have any of you ever experienced something like horizontal decision-making before? What was it about?”.
Briefly define what horizontal decision-making means to establish a common understanding. For example: It is a way of decision-making in which all participants ideally have equal power to decide on a given matter. Highlight the key principles of horizontal decision-making:
• inclusivity
• equality
• respect for others and for different opinions
• consensus/consent
Provide an overview on a flipchart of the potential advantages and disadvantages of horizontal decision-making in comparison to hierarchical decision-making attitudes. You may compare the methods of voting and consensus decision making. Ask participants for further points.
| Voting | Consensus | |
| Pros |
|
|
| Cons |
|
|
Step 2
10 min
Set the ground rules for respectful communication and equal participation. Involve participants in setting these rules (e.g. by using the brainstorming method or creating a group agreement – see another method in this Toolkit: Group agreement). This may help participants to remember and accept the ground rules more easily, while offering a space that aims to be as inclusive as possible.
This step can be skipped if you have already set the rules with the group beforehand.
Step 3
20 min
Introduce the process of consensus decision-making. This method strives for a consensus within a group. Consensus is a state in which all participants agree with some proposal. The key to reaching consensus is a high-quality discussion that includes all participants and takes their needs and opinions into account. These factors are usually monitored by a facilitator who tries also to help the group reach a consensual decision while making sure all voices are being heard.
Describe the process of group decision-making based on this diagram: https://www.seedsforchange.org.uk/downloads/consflow.pdf
1) Introduce and clarify the issue
2) Open up the discussion
3) Explore ideas in a broad discussion
4) Form a proposal
5) Amend the proposal
6) Test for agreement
7) Work out how to implement the decision
Step 4
30 min
Introduce facilitation as a tool that supports groups in decision-making processes. Without a facilitator, discussions may be dominated by extroverts or people in positions of informal power. The opinions of others could be overlooked. The resulting decision could be accepted with silent disagreement or even despite the disagreement of some participants. On the other hand, the facilitator should not make decisions or propose decisions. To reduce the risk of the facilitator’s role being abused to give a particular person influence over the group, it is common for group members to take turns in this role at individual meetings.
Describe the key facilitation skills:
• Active listening (see also: https://www.seedsforchange.org.uk/activelistening)
• Questioning – ask questions for clarification
• Summarising – briefly repeat someone else’s suggestion or idea.
Describe also basic facilitation tools that facilitators use to make the process of decision making easier:
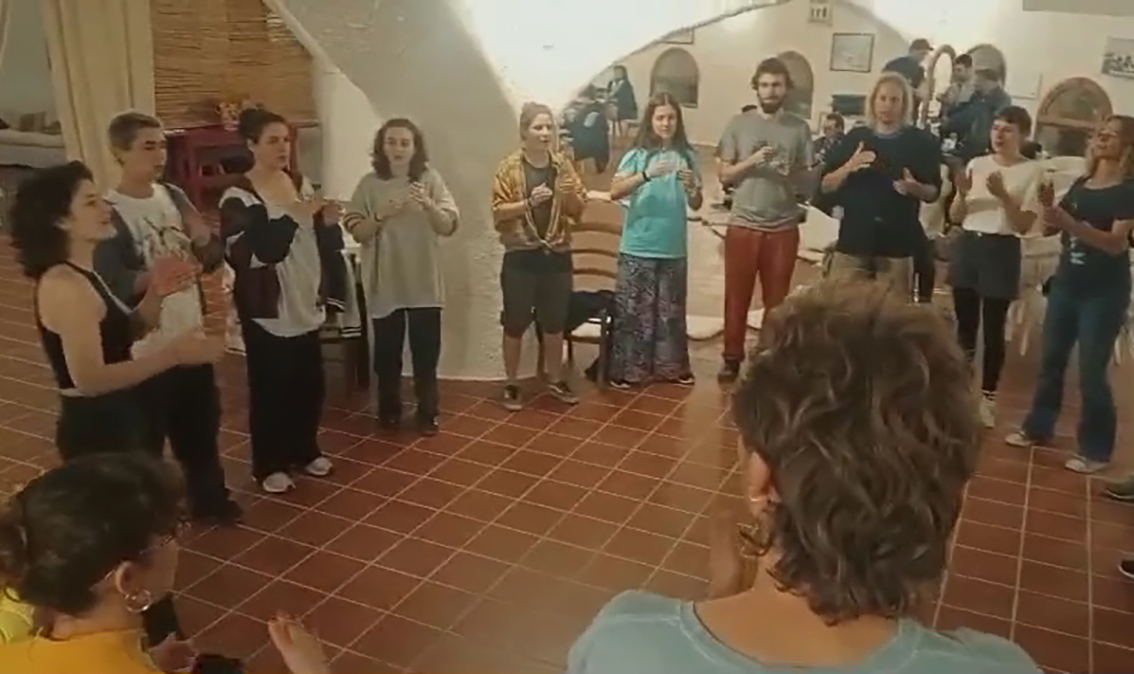
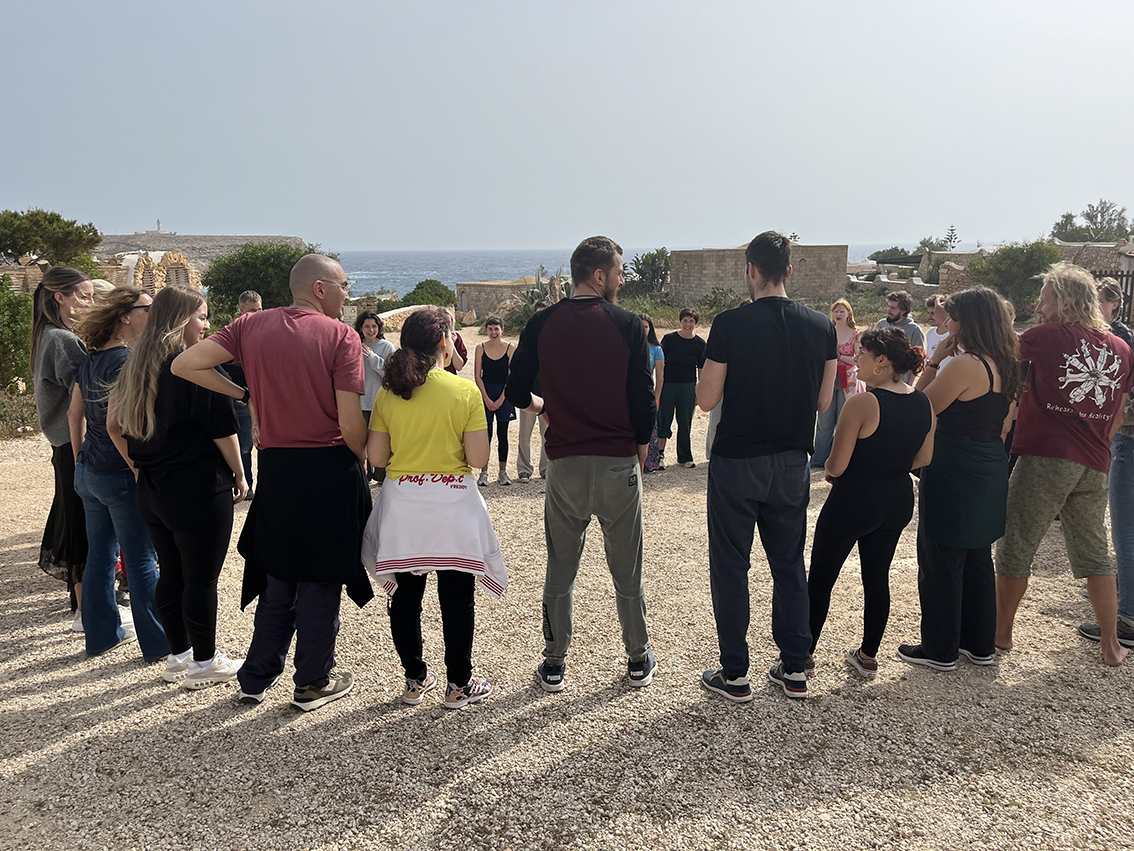
• Go-rounds: People sit in a circle and all participants can express their opinions on a question or suggestion in turn.
• Ideastorms (brainstorming): Participants are encouraged to come up with as many ideas as possible.
• Discussion in small groups/pairs: In larger groups, some people may be shy about expressing their opinions, whereas in smaller groups they may find it easier to participate actively.
• Temperature-check: In a situation where the facilitator is unsure how the group feels about a proposal, the facilitator asks all participants to use their hands to show how much they like or dislike the proposal. The more a person likes the proposal, the higher they raise their hands. Conversely, the less they like the proposal, the lower they raise their hands. Hands at waist level mean that the person is neither for nor against the proposal.
Additional tools that help the facilitator to keep the atmosphere respectful and inclusive:
• Reminding about the ground rules of respectful communication and equal participation.
• Direct questions to quieter participants.
• Interventions (gently interrupting dominant speakers and steering the conversation back to the group).
• Introduce an object that participants must hold in order to speak. This can help to regulate who speaks and encourage others to wait their turn.
Write the list of the mentioned facilitation skills (active listening, clarifying, summarising) and tools (go-rounds, ideastorms, small groups discussion, temperature check) on a flipchart paper and hang it in a visible place for everyone to see.
Second part: Practical activity
Step 5
15 min
Introduce this part as a practical training:
“Let’s try it on your own! You will take part in a facilitated discussion in small groups and try to reach consensus.”
Let participants suggest the topic, if possible. If they do not have any suggestions, make sure you have something prepared. Try to avoid too complex or controversial topics and choose rather a simple one which would be easy for training.
Step 6
45 min
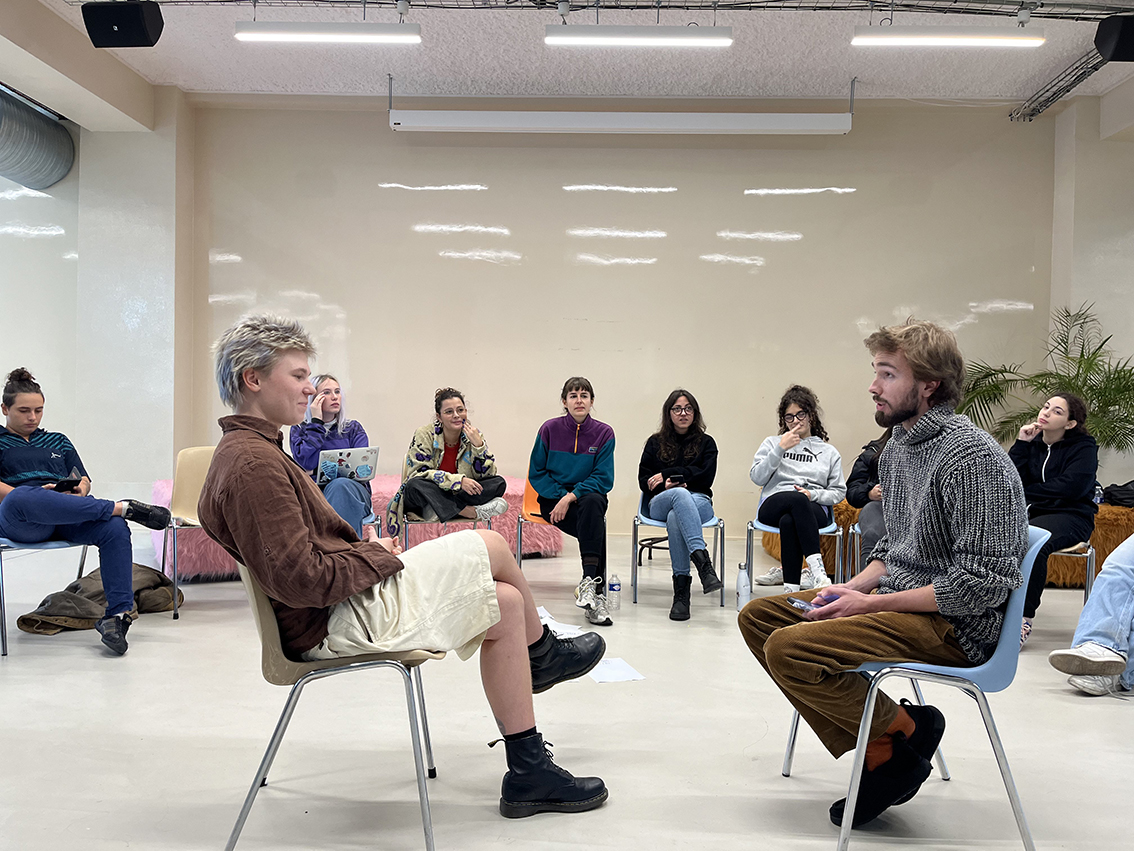
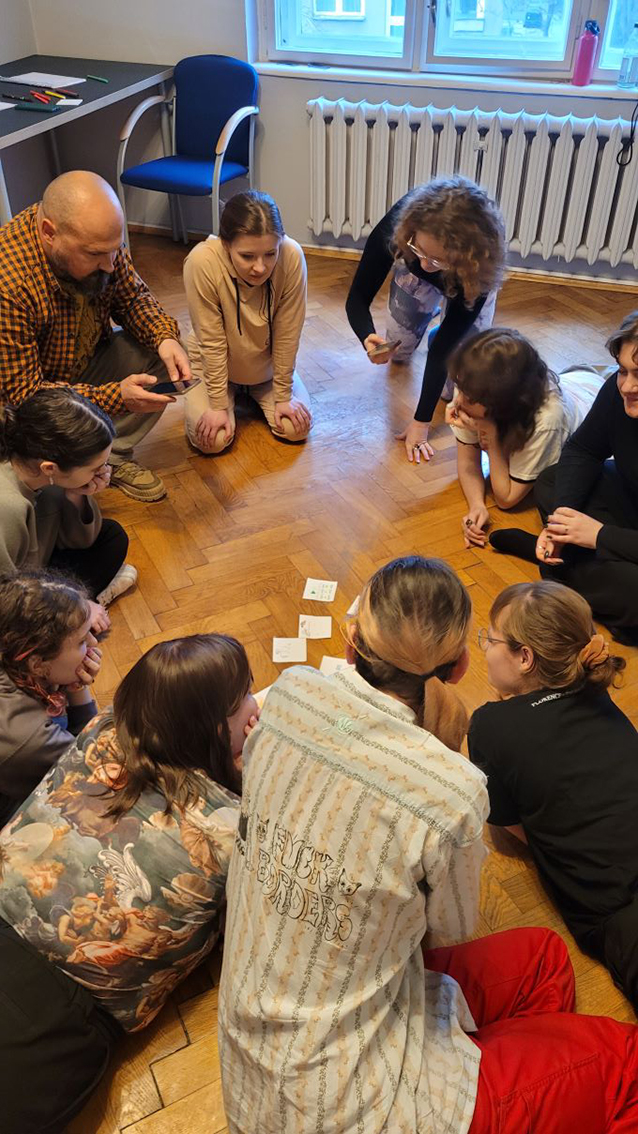
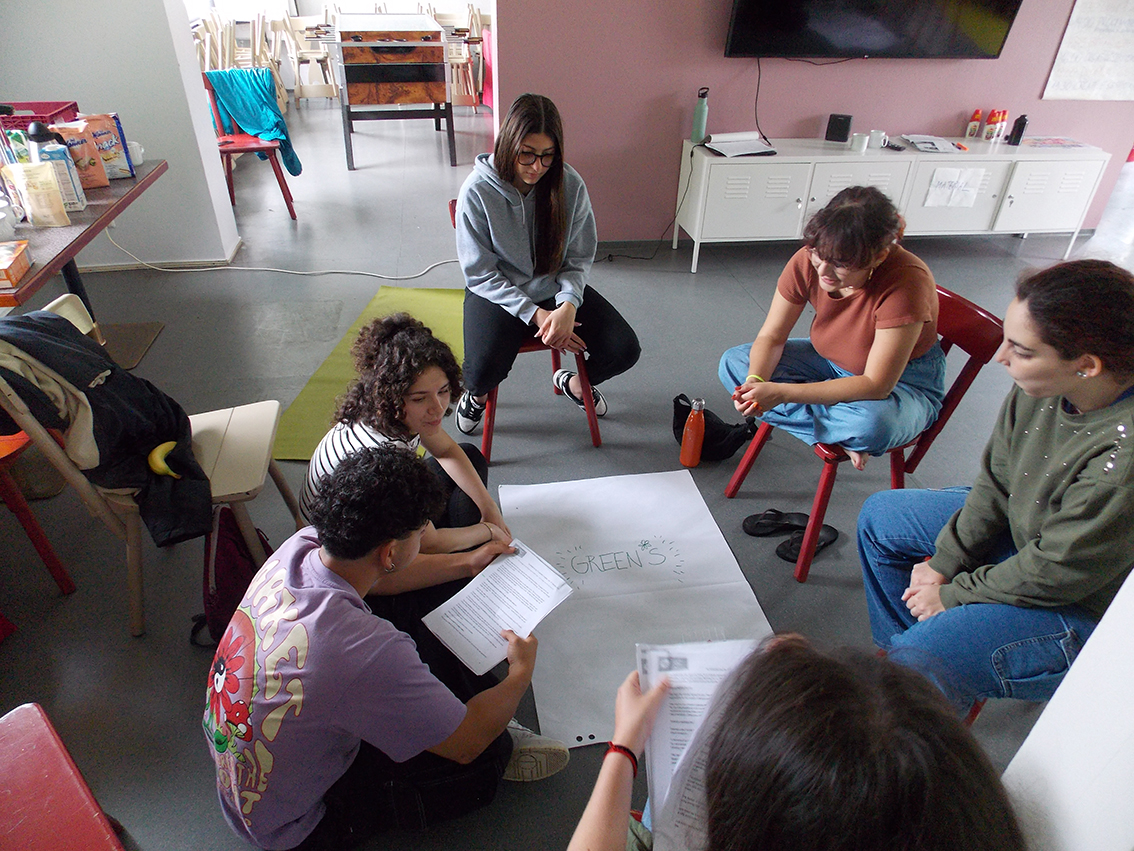
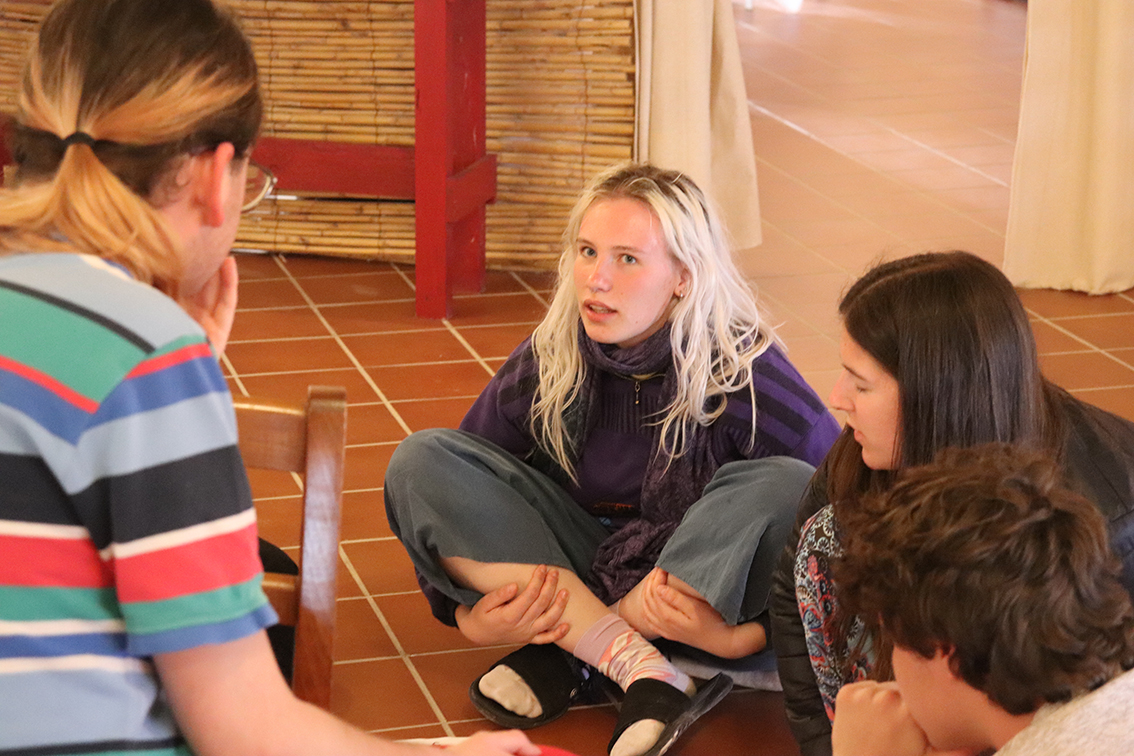
Form groups of 4-5 people (depending on the number of participants) and ask a volunteer in each group to take on the role of the facilitator. Instruct the smaller groups to find comfortable spots that are far enough apart so that they are not distracted by the other groups. Give the groups 30 minutes (15 minutes for discussion + 15 minutes to find a consensus). After the activity has started, keep checking in with each group to see how they are progressing and to help the facilitators if needed. Remind them of the time after 20 minutes and 5 minutes before the end of the exercise.
Third part: Reflection and final discussion
Step 7
30 min
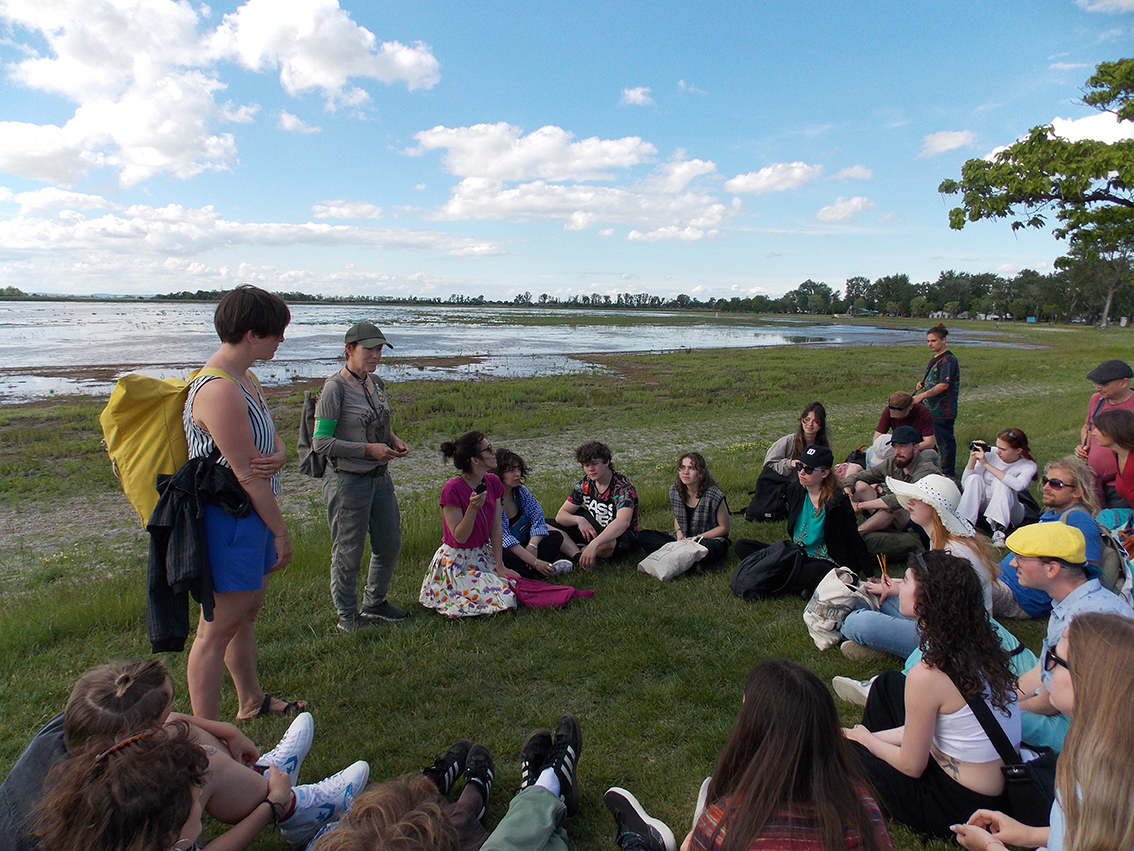
Get back together as a whole group. Ask participants to share their emotions, if any, and then ask them about their experiences and insights about the process. Discuss what challenges they encountered and what strategies they developed to overcome them. You can ask questions like:
• Did you manage to reach a consensus? If not, can you imagine reaching a consensus if you had more time?
• Was there an opinion that was strongly opposed to another opinion? How did you deal with it?
• Was there someone who talked much more than others? How did you deal with it?
• Was there someone who didn’t talk at all or only very little? How did you deal with this?
• Did you get stuck at any point during the discussion? How did you deal with it?
Encourage participants that the skills required for horizontal decision making can be practised like any other skill and that they become more effective with each attempt. It is okay if consensus was not reached – the focus here is on learning. Emphasise that the ability to make horizontal decisions can be trained.
Tips for the trainer
Provide handouts regarding all concepts (e.g. common decision-making processes in our society, horizontal-decision making, etc.) or try to visualise them on a flipchart to prevent confusion among the participants by the amount of information.
Alternative
• In case there is more time, repeat steps 5 and 6 with different topics and different facilitators in each group.
• Instead of consensus, you can also choose consent, which will be easier to achieve.
• For large groups, print and distribute the consensus flowchart and facilitation tips.
Comment
Source
Consensus: https://www.seedsforchange.org.uk/consensus
Introduction to facilitating meetings: https://www.seedsforchange.org.uk/downloads/short_facil.pdf
Groaning Zone: https://wiki.p2pfoundation.net/Diamond_of_Participation
Consensus Flowchart: https://www.seedsforchange.org.uk/downloads/consflow.pdf
-01-01")