Images of oppression
Download the methods
To download the methods, click here
Target group
No. of pax
Environment
Time needed
Materials
Possibly a flipchart and pen to summarise the results or key words
Objective/aim
The aim of the exercise is to explore topics of oppression and to use participants’ knowledge and creativity to create images and simple scenes that depict, examine and discuss different forms of oppression – considering their causes and possible solutions.
Step by step instructions
Step 1
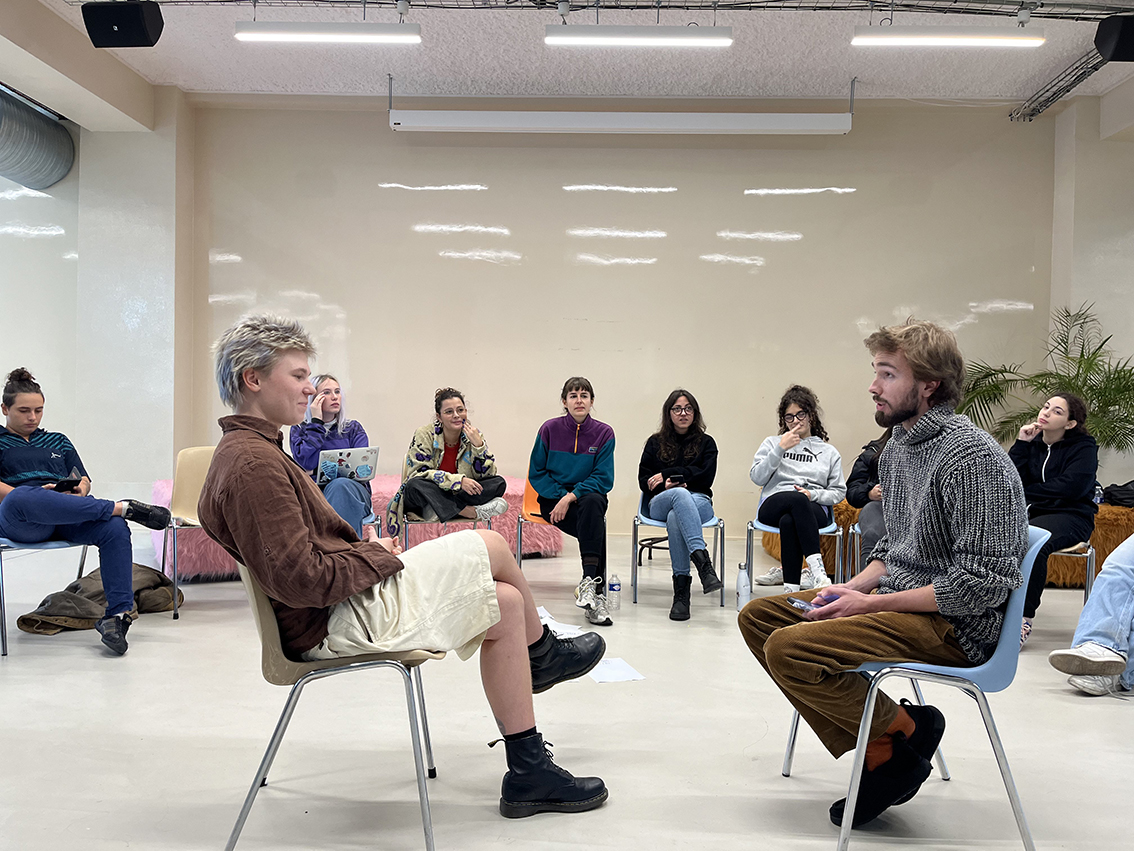
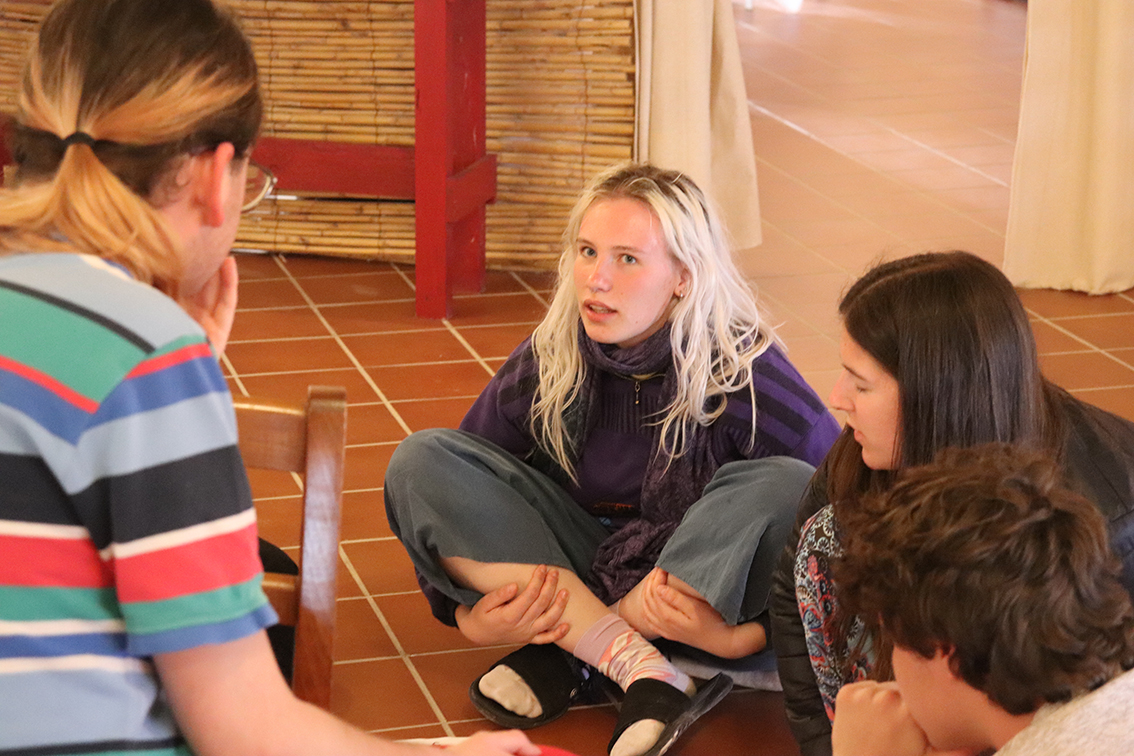
Participants walk freely around the space. The facilitator calls out different characters related to various types of oppression (e.g. mother, father, child, police officer, activist, refugee, etc.). Each time a character is called out, the facilitator claps – and all participants immediately create a body image of that character. They should not overthink it: the image should be their first visual association. Once frozen, participants look around to see the images others have made. (10 min)
Step 2
The facilitator moderates a short discussion about the images, e.g.: Did you notice any similarities or differences between images? Why might that be? Participants may share quick thoughts and associations. (10 min)
Step 3
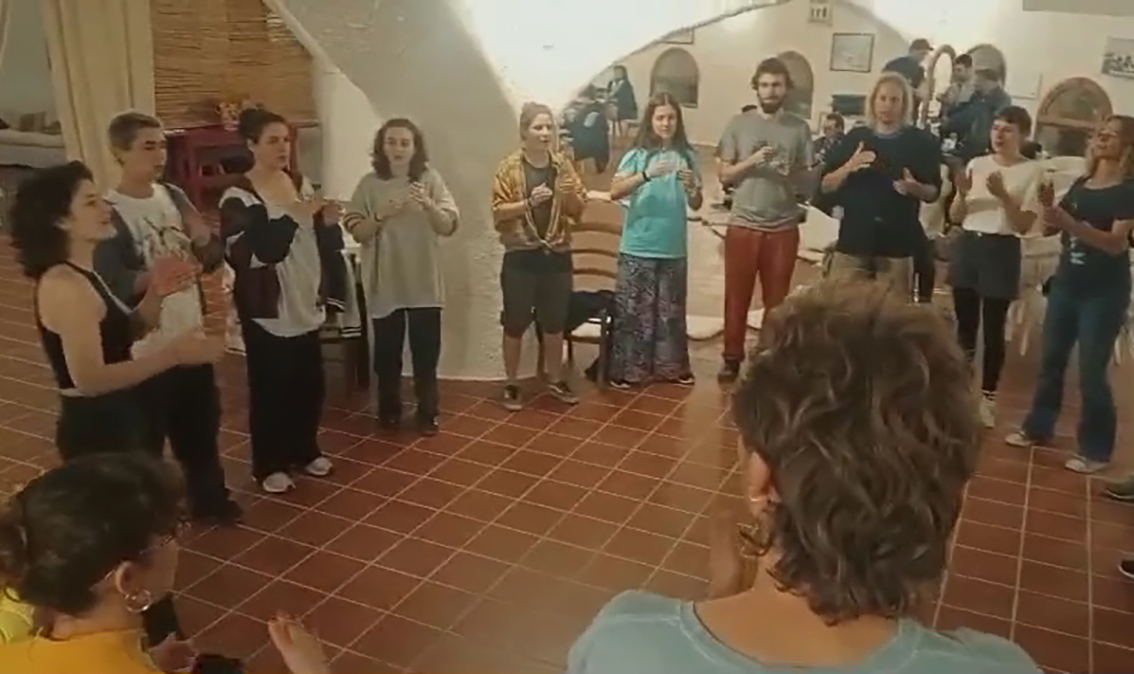
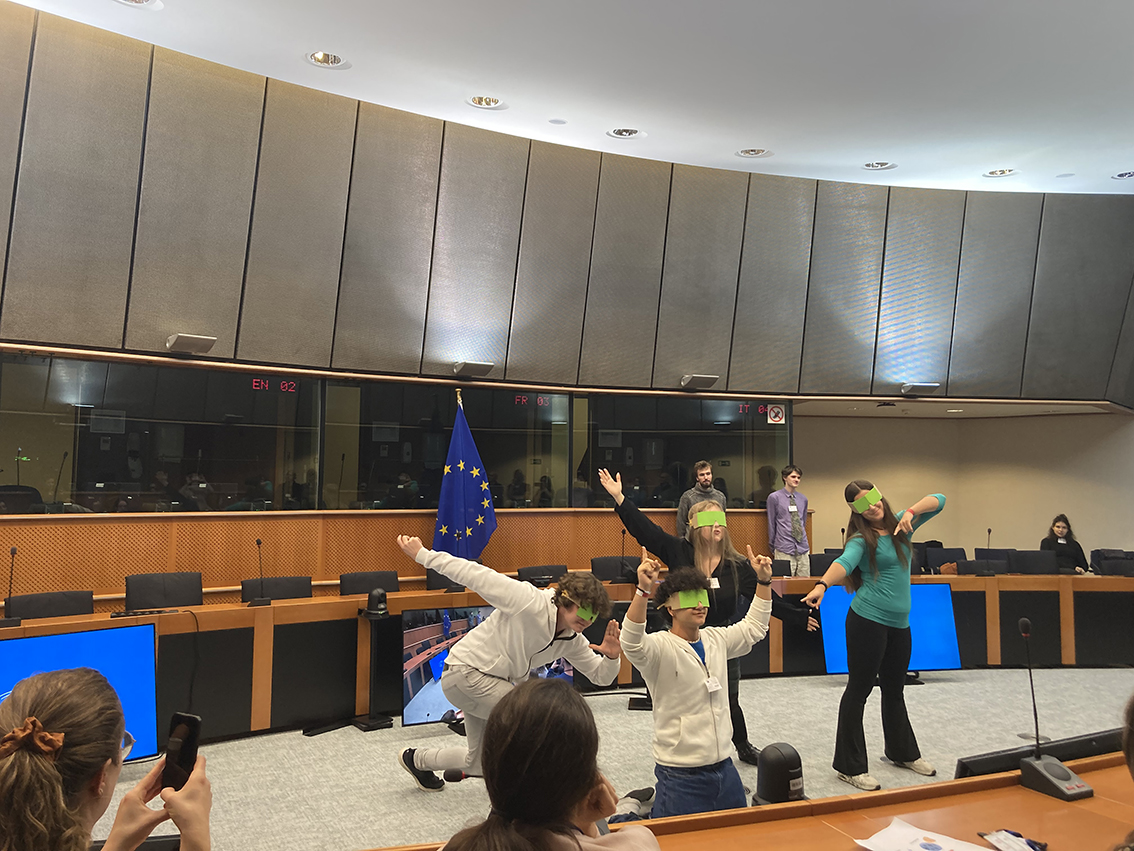
Participants form a circle facing outwards (so they cannot see each other). The facilitator calls out a term connected to the topic (the term can be more general; in our case, the topic was climate migration, and this was also the term that was called out in this step). Each participant has 30–60 seconds to create a body image representing what this term means to them. (5 min)
Step 4
Once everyone has formed their image, the facilitator claps, and all participants turn around to see the images created by the others, while still holding their own image. (2 min)
Step 5
Still holding their images, participants move and join others whose images they feel are similar or connected, forming groups of 4–6 people. If groups are too uneven, the facilitator may make minor adjustments to balance them. (3 min)
Step 6
Each group arranges itself in the space, positioning the individual images in a way that best expresses the relationships between them, without changing the original poses. (5 min)
Step 7
Each group presents their finished group image to the other participants. The audience gives short, one-word feedback: their first associations upon seeing the image. (10 min)
Step 8
Groups have a short time to refine their image based on the feedback received, clarifying the type of oppression their image depicts. (10 min)
Step 9
Each group creates a second image showing what they believe led to the situation presented in their original (current) image, representing a past state. In this way, they get images that present a past state and a current state of affairs. (5 min)
Step 10
Each group creates a third image depicting how they wish the situation in the original image could be positively resolved, representing a future state. Once they create all 3 images, they need to come up with how to make the transitions from one image to another (how each individual can move from one position to the other). (5 min)
Step 11
Each group presents the entire sequence. The facilitator instructs the audience to close their eyes while the group sets up the past image. Then the audience opens their eyes. After 20–30 seconds, the facilitator claps and counts down 5–10 seconds for the transition to the present image. The process repeats for the move to the future image. (15 min)
Step 12
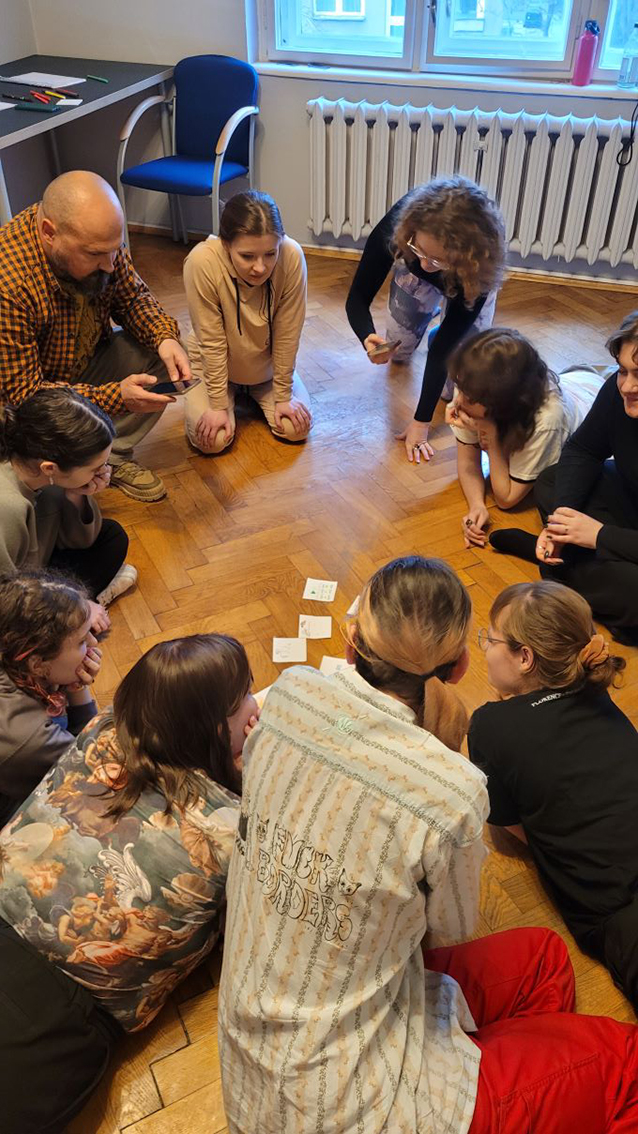
Hold a group discussion on what participants saw and felt in the images. Suggested questions:
What causes did you recognise?
• Do you feel these are realistic causes?
• Do the proposed solutions feel satisfactory and realistic?
• Can you think of alternative solutions?
• How did the exercise make you feel?
Allow space for any personal reflections. (10 min)
Tips for the trainer
This is not a difficult exercise but participants should understand basic terms beforehand (e.g. image, oppression).
Alternative
If participants are feeling comfortable with the exercise, they may include sounds, verbal and movement components into the images (e.g. one expression and repetitive movement that the character they represent might use in the presented image). The instructions for this would be included in Steps 8, 9, and 10.
Comment
Source
This exercise is adapted from the image theatre method developed by Augusto Boal as part of the Theatre of the Oppressed:
https://sites.google.com/education.nsw.gov.au/boaldoe/boal/image-theatre
-01-01")